Preparing Venison Roast for Cooking
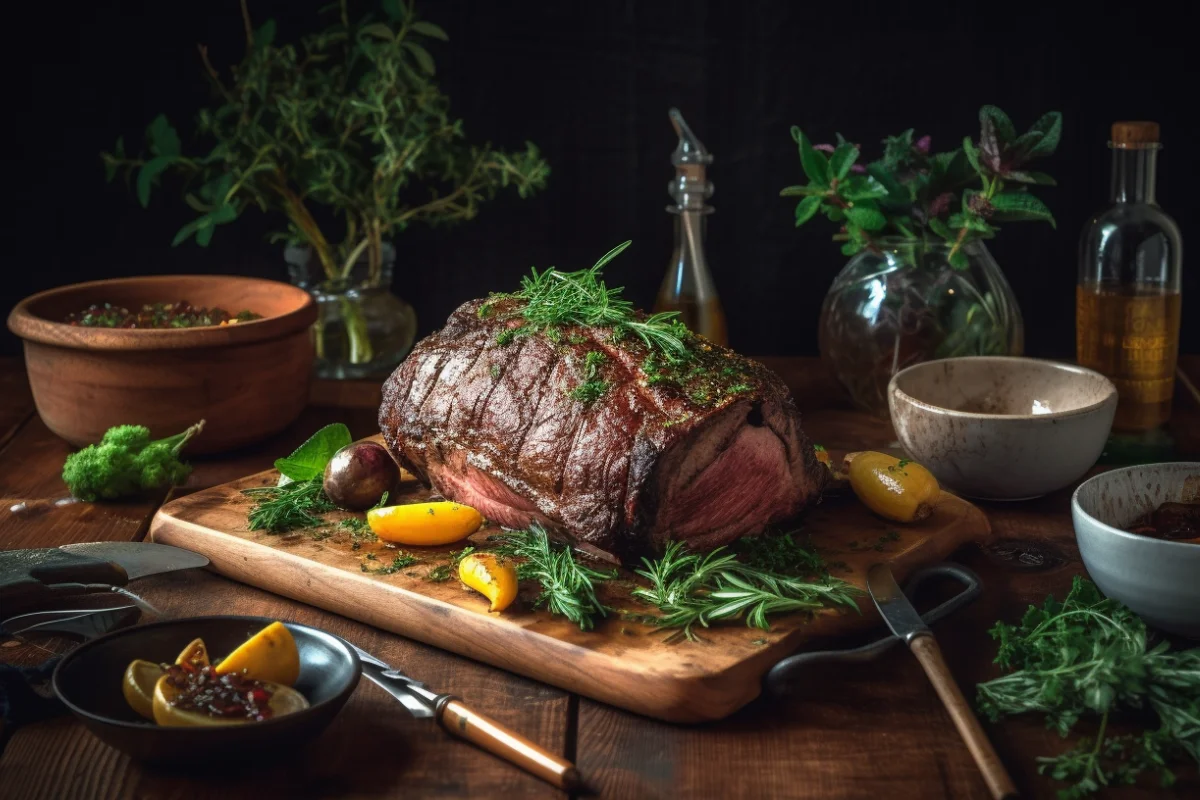
Soak a Venison roast, the Venison with its lean composition and distinctive flavor, is a culinary treasure for many. However, preparing a venison roast requires extra care to achieve a tender, flavorful result that doesn’t overpower your taste buds with its natural gamey flavor.
Why Venison Requires Special Preparation
Understanding the Unique Qualities of Venison Meat
Venison is much leaner than beef, which makes it prone to drying out if not prepared properly. Its unique gamey flavor comes from the wild diet of deer, which can be unfamiliar or unpalatable to some. The lack of intramuscular fat also means that it lacks the natural tenderizing effect seen in other red meats.
The Role of Soaking in Removing Gamey Flavor
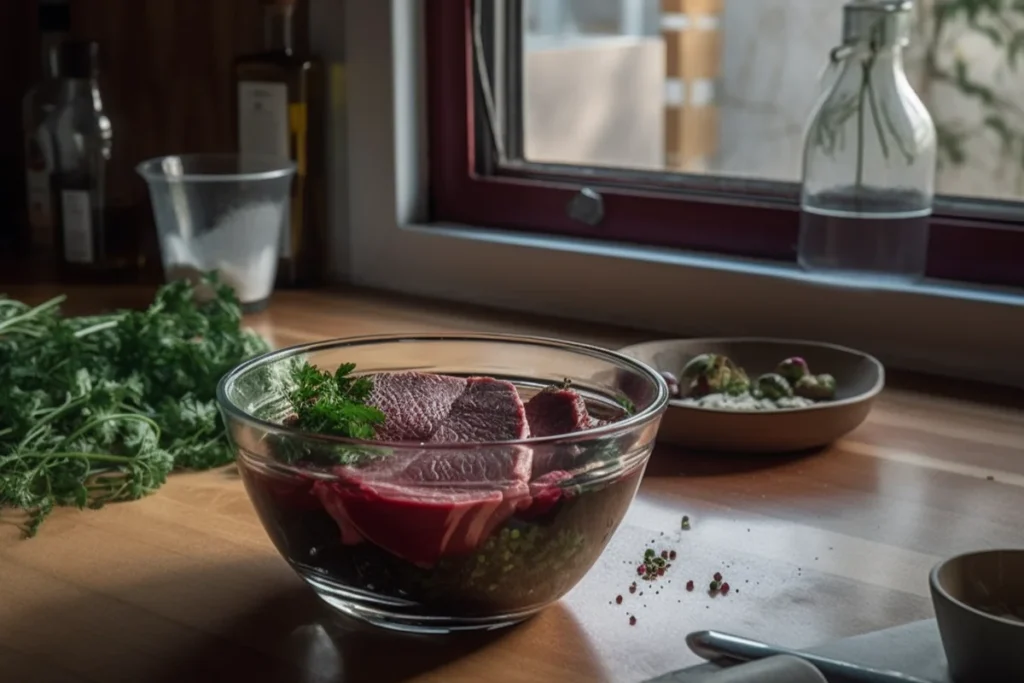
Soaking venison can be a game changer for reducing its intense flavor and preparing it for cooking. This process helps to:
- Draw out blood and impurities.
- Neutralize strong flavors.
- Tenderize the meat, making it more succulent.
For a detailed guide on how to remove the gamey taste from wild venison, check out this resource.
Common Soaking Solutions for Venison
Choosing the right soaking solution can significantly affect the flavor and texture of your venison roast. Below are some popular options.
Using Saltwater to Tenderize and Remove Impurities

Saltwater is one of the most traditional methods for preparing venison. The salt helps:
- Extract blood and impurities.
- Begin the tenderizing process.
- Reduce some of the gamey taste.
To use this method, dissolve 1/4 cup of salt in a quart of cold water and submerge the venison overnight.
Milk and Buttermilk as Gamey Flavor Neutralizers

Milk and buttermilk are effective at neutralizing strong flavors while tenderizing the meat. Their mild acidity gently breaks down proteins, enhancing the texture. Buttermilk, in particular, adds a creamy tanginess to the final flavor. This method involves soaking the meat in milk or buttermilk for 12–24 hours in the refrigerator.
Vinegar-Based Marinades for Enhanced Flavor

Vinegar-based marinades are a dual purpose solution, both tenderizing the meat and adding a tangy flavor. Combining vinegar with parts like garlic, herbs, and spices creates a flavorful soaking solution that prepares the venison for cooking without masking its natural taste.
How to Determine If Soaking Is Necessary
While soaking venison can enhance its texture and flavor, it’s not always required. Understanding when to soak—and when to skip this step—depends on various factors.
Factors That Affect the Gamey Flavor of Venison
Several factors influence the intensity of the gamey flavor in venison:
- Age of the deer: Older deer typically have stronger flavors.
- Diet: A wild diet of acorns or shrubs can lead to a more pronounced taste.
- Processing: Proper cleaning and aging reduce gamey notes.
When to Skip the Soaking Step
If your venison comes from a young deer, was well-processed, or has been aged correctly, you may not need to soak it. Some cooks prefer the unaltered flavor of venison and skip soaking entirely, opting instead for alternative preparation methods like brining or marinating.
Step-by-Step Guide to Soaking a Venison Roast
Proper soaking is crucial to achieving a tender and flavorful venison roast. By following this step-by-step guide, you can eliminate unwanted gamey flavors while preparing the meat for cooking success.
Essential Equipment and Ingredients for Soaking
Before beginning the soaking process, gathering the right tools and ingredients will streamline the preparation.
Choosing the Right Container for Venison Soaking
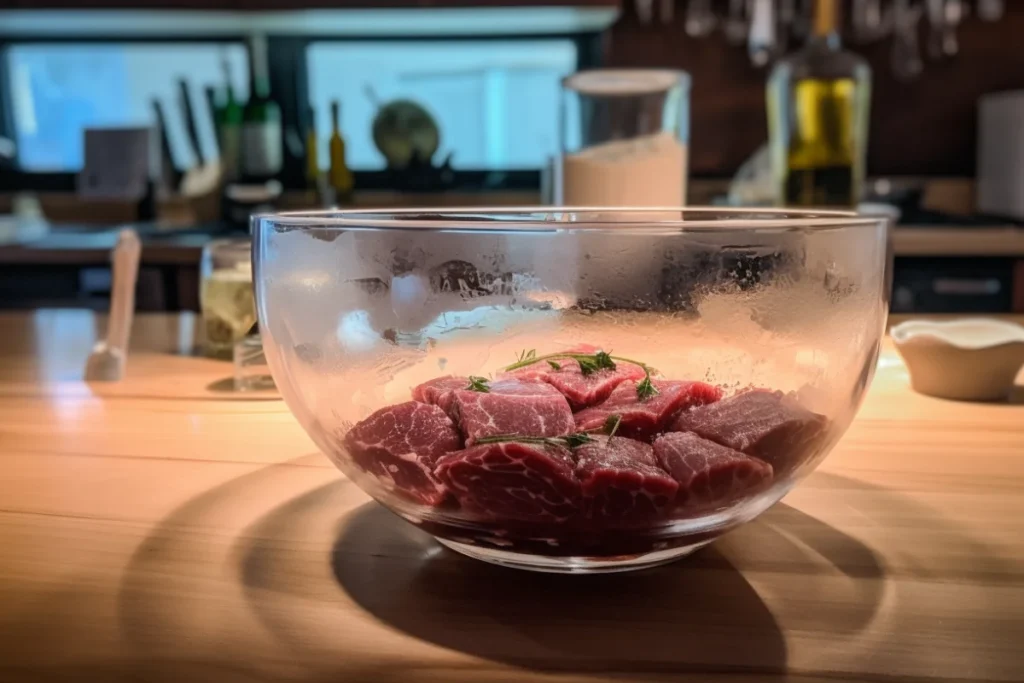
The container used for soaking is key to maintaining the integrity of the venison while ensuring even coverage. Ideal choices include:
- Glass or ceramic bowls: Non-reactive materials that won’t alter the taste.
- Plastic resealable bags: Perfect for marinating smaller cuts with minimal mess.
- Stainless steel bowls: Effective if no acidic solutions are involved.
Ensure the container is large enough to fully submerge the venison in your chosen soaking solution.
Ideal Ingredients for a Soaking Solution
Your soaking solution should be tailored to your flavor goals and the state of your venison. Common ingredients include:
- Salt: A universal option for reducing gamey notes.
- Buttermilk: Adds a creamy texture while neutralizing strong flavors.
- Apple cider vinegar: Enhances flavor with a mild tang.
- Herbs and spices: Optional additions for layering flavor.
For best results, always use fresh, high-quality ingredients.
How Long Should You Soak Venison?
Timing is everything when soaking venison. Too short a duration, and the solution won’t fully penetrate the meat; too long, and you risk over-softening it.
Optimal Soaking Durations for Different Solutions
The soaking time depends on the solution you’ve chosen:
- Saltwater: 6–12 hours for blood removal and slight tenderization.
- Buttermilk or milk: 12–24 hours for deep flavor neutralization.
- Vinegar-based marinades: 4–8 hours to avoid overpowering the venison’s natural taste.
Always refrigerate venison while soaking to maintain food safety.
What Happens If You Soak for Too Long?
Soaking venison for an extended period can lead to unwanted side effects, such as:
- Mushy texture: Over-soaking in acidic solutions can break down the proteins excessively.
- Overly diluted flavor: Prolonged soaking in water or milk can strip the meat of its natural essence.
To prevent these issues, stick to the recommended soaking durations.
Proper Techniques for Draining and Drying After Soaking
Once the soaking process is complete, it’s essential to handle the venison carefully to preserve its enhanced qualities.
Ensuring Thorough Drainage to Avoid Excess Moisture
After soaking, drain the venison thoroughly to remove any excess liquid. Steps to ensure proper drainage include:
- Remove the venison from the soaking solution.
- Place it on a wire rack or colander over a sink.
- Allow it to rest for 5–10 minutes to release trapped moisture.
Patting Dry for Perfect Preparation
Drying the venison ensures a better sear during cooking and prevents steaming. Use the following technique:
- Lay the venison on paper towels.
- Gently pat the surface dry, ensuring no excess liquid remains.
- Avoid rubbing too hard, as this can damage the meat’s texture.
Alternative Methods to Prepare Venison Without Soaking
While soaking venison is a popular method to enhance its flavor and tenderness, there are several alternative techniques that achieve similar or even better results. These methods preserve the meat’s natural qualities while reducing its gamey flavor.
Brining as an Alternative to Traditional Soaking
Brining is an age-old technique that infuses meat with moisture and flavor while tenderizing it. This method works exceptionally well for venison.
How Brining Works for Venison Tenderness
Brining involves submerging venison in a solution of water, salt, and optional flavor enhancers. The process works by:
- Hydrating the meat: Salt helps the venison retain moisture during cooking.
- Breaking down muscle fibers: This results in a more tender texture.
- Enhancing flavor: Brines can be customized with herbs, spices, and sugar for a unique taste.
A basic brine recipe includes:
- 1 gallon of water
- 1 cup of kosher salt
- 1/2 cup of sugar (optional)
- Herbs like rosemary, thyme, or bay leaves
Brine the venison for 6–12 hours, depending on the cut size.
Key Differences Between Soaking and Brining
While soaking primarily removes unwanted flavors, brining adds moisture and depth to the meat. Key distinctions include:
- Flavor enhancement: Brines introduce new flavors, whereas soaking typically neutralizes.
- Moisture retention: Brines are particularly useful for lean cuts like venison.
Marinades for Flavorful Venison Preparation
Marinades offer a versatile way to prepare venison without soaking. They infuse the meat with a balanced combination of flavors while tenderizing it.
Crafting the Perfect Venison Marinade
A good venison marinade should include the following components:
- Acid: Vinegar, citrus juice, or wine to break down proteins.
- Oil: Olive oil or vegetable oil to retain moisture.
- Flavoring agents: Garlic, herbs, spices, and soy sauce for added depth.
For example, a classic venison marinade might include:
- 1/4 cup olive oil
- 2 tablespoons balsamic vinegar
- 2 cloves garlic, minced
- 1 teaspoon rosemary
- Salt and pepper to taste
Let the venison marinate for 4–12 hours, depending on the cut.
Balancing Acidity and Spice for Optimal Results
Overusing acidic ingredients can make venison mushy. Balance acidity with complementary spices and fats for a well-rounded flavor. For instance:
- Use citrus juice sparingly, complemented by honey for sweetness.
- Pair soy sauce with brown sugar to create a savory glaze.
Using Dry Rubs and Seasoning for a Bold Flavor
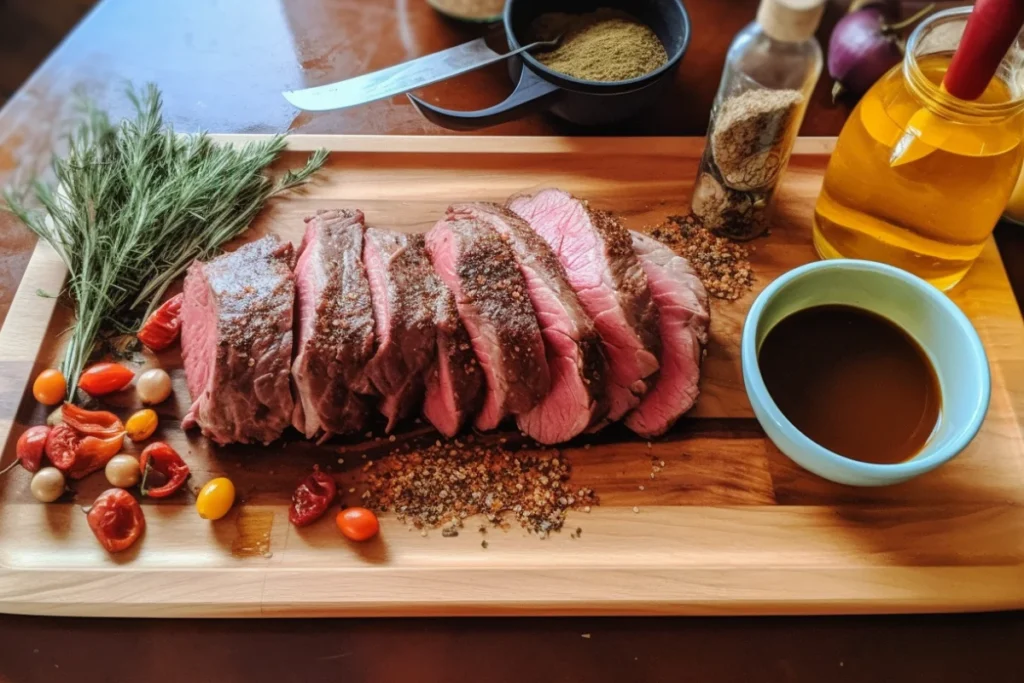
Dry rubs offer an excellent alternative for adding flavor without altering the venison’s texture. This method is quick, easy, and ideal for grilling or roasting.
Combining Spices to Enhance Venison’s Natural Taste
A well-crafted dry rub enhances venison’s earthy qualities. Popular ingredients include:
- Paprika
- Garlic powder
- Onion powder
- Cumin
- Cayenne pepper
For a basic dry rub, mix:
- 2 tablespoons paprika
- 1 tablespoon garlic powder
- 1 teaspoon black pepper
- 1 teaspoon cumin
- 1/2 teaspoon cayenne pepper
Apply liberally to the venison before cooking.
Applying and Resting for Maximum Impact
After coating the venison with a dry rub, let it rest for at least 30 minutes. This resting period allows the flavors to penetrate the surface, enhancing the overall taste during cooking.
Cooking Techniques That Minimize Gamey Flavor
The final step in preparing venison is cooking it using methods that complement its lean nature and mild flavors.
Slow Cooking for Tender and Mild Venison
Slow cooking is ideal for tougher cuts like shoulder or shank. This method allows the meat to cook gently, breaking down connective tissues and intensifying flavors. Steps include:
- Sear the venison to lock in juices.
- Place it in a slow cooker with aromatic vegetables (onions, carrots, celery) and a flavorful liquid (broth, wine, or water).
- Cook on low for 6–8 hours.
High-Heat Methods to Seal in Freshness
For tender cuts like backstrap or tenderloin, high-heat cooking methods work best. These include:
- Grilling: Cook over high heat for a few minutes on each side to achieve a perfect medium-rare.
- Pan-searing: Sear the venison in a hot skillet with butter and herbs, then finish in the oven.
More FAQs
1. What is the best way to remove the gamey flavor from venison?
Soaking in buttermilk or a saltwater solution is the most effective method.
2. How do I know if venison is properly soaked?
The meat should appear lighter in color, with less visible blood.
3. Can I reuse soaking solutions?
No, always use fresh solutions to avoid contamination.
4. What cuts of venison are best for slow cooking?
Shoulder, shank, and neck cuts benefit most from slow cooking.
5. How long should I roast venison for?
Venison should be roasted at 325°F (163°C) for 20-25 minutes per pound, or until it reaches an internal temperature of 130-140°F (54-60°C) for medium-rare.
6. How do you cook venison so it’s tender?
To cook venison so it’s tender, use slow cooking methods like braising or roasting at low temperatures, and avoid overcooking to retain moisture.
7. Can you combine soaking and marinating?
Yes, soak first to neutralize the flavor, then marinate for added taste.
8. How to cook roast Venison Jamie Oliver?
To cook roast venison Jamie Oliver style, marinate the meat with herbs and red wine, sear it for flavor, roast to medium-rare, and serve with a rich gravy.
9. Do you need to tenderize all venison cuts?
No, tender cuts like backstrap don’t require additional tenderizing.
10. What’s the best cooking method for a venison roast?
Slow roasting at a low temperature ensures tenderness and flavor retention.

