Pie crusts are the unsung heroes of the dessert world, creating the foundation for everything from apple pies to quiches. Among the many options for pie crust recipes, Crisco pie crust stands out for its unmatched flakiness and ease of preparation. In this guide, we’ll explore everything you need to know to create the perfect Crisco pie crust.
What Makes Crisco Pie Crust Unique?
A Crisco pie crust differs from its butter or lard counterparts due to its reliance on vegetable shortening. This simple substitution results in a pie crust that is consistently flaky, tender, and easy to work with, making it a go-to for both beginner and seasoned bakers.
The History of Crisco in Baking
Introduced in 1911, Crisco revolutionized baking. Unlike lard or butter, it offered a stable, shelf-stable fat alternative that was accessible to home bakers. Its use in pie crusts became popular because it produced a consistent, high-quality crust without the complexities of working with animal fats.
Key Ingredients of a Perfect Crisco Pie Crust
The hallmark of a great pie crust lies in the ingredients, and a Crisco pie crust keeps it simple:
- All-purpose flour: Provides structure and elasticity.
- Crisco shortening: Ensures flakiness and a neutral flavor.
- Salt and sugar: For balancing flavors.
- Ice water: Helps bind the ingredients without warming the dough.
Why Choose Crisco Over Butter or Lard?
While butter lends a rich flavor and lard contributes a savory profile, Crisco offers:
- Neutral taste: A great base for any filling, whether sweet or savory.
- Ease of use: Shortening doesn’t melt as quickly as butter, making it easier to handle.
- Consistent flakiness: Crisco distributes evenly, creating a tender yet structured crust.
Tools You Need to Make a Crisco Pie Crust
Setting yourself up for success starts with having the right tools. Here are the essentials for crafting the perfect crust.
Essential Baking Tools: Rolling Pins, Pastry Cutter, and More
- Rolling pin: Ensures even thickness throughout the crust.
- Pastry cutter: Blends shortening into the flour for a flaky texture.
- Measuring cups and spoons: For precise ingredient ratios.
- Pastry mat or silicone mat: Provides a non-stick surface for rolling.
- Pie weights: Essential for blind baking to prevent bubbles.
Tips for Measuring Ingredients Accurately
Accurate measurements are critical when baking:
- Use a kitchen scale for precision.
- Spoon and level flour into measuring cups to avoid packing.
- Measure shortening with a water displacement method: Fill a cup with water and add shortening until it reaches the desired measurement.
Understanding Pie Crust Science
Crafting a perfect pie crust isn’t just an art—it’s also a science.
The Role of Shortening in a Flaky Crust

Shortening is key to creating a tender and flaky texture. Unlike butter, which contains water that can create gluten, Crisco is 100% fat. This pure fat content ensures minimal gluten development, which is essential for a flaky crust.
How Temperature Affects the Dough
Temperature plays a crucial role in maintaining the crust’s texture:
- Cold shortening and water: Prevent the fat from melting prematurely.
- Chilling the dough: Helps the gluten relax, making the crust easier to roll out and less prone to shrinkage during baking.
Ingredients List: Everything You’ll Need
Gathering the right ingredients is essential to achieve a perfectly balanced pie crust. Each element plays a critical role in the outcome, so let’s break them down.
Choosing the Right Type of Flour
For a Crisco pie crust, all-purpose flour is your best bet. It strikes the perfect balance between protein content and elasticity. Too much protein (like in bread flour) results in a tough crust, while too little (like in cake flour) can make it crumbly and hard to handle.
Salt and Sugar: Balancing Flavor
- Salt: Enhances the overall flavor without overpowering the filling.
- Sugar: Optional but ideal for sweet pies. It adds a subtle sweetness and contributes to browning.
Water Temperature: Cold is Key
The water you use should be ice-cold. This prevents the shortening from melting, ensuring that the fat remains solid and creates pockets of flakiness during baking.
Step 1: Preparing the Dough
The foundation of any great pie crust lies in how the dough is prepared. Let’s walk through the process, step by step.
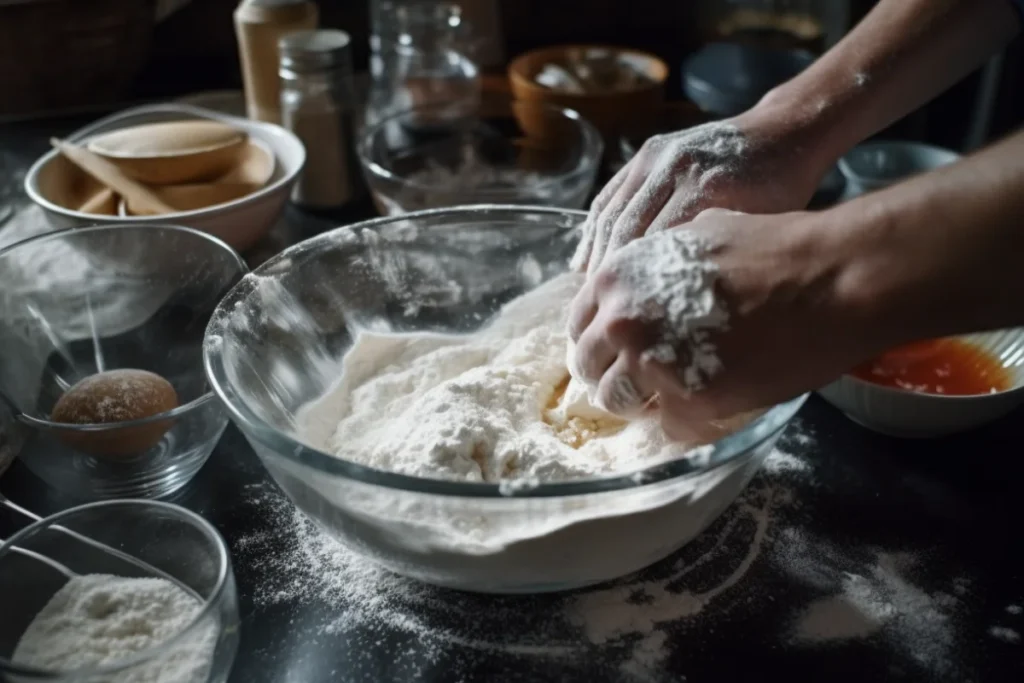
Mixing the Dry Ingredients
- Combine 2 ½ cups of all-purpose flour, 1 teaspoon of salt, and 1 teaspoon of sugar (if using) in a large mixing bowl.
- Whisk together to distribute the ingredients evenly.
Incorporating Crisco for Maximum Flakiness
- Measure ¾ cup of Crisco shortening.
- Use a pastry cutter or fork to cut the shortening into the flour mixture.
- Aim for pea-sized crumbs, which indicate that the shortening is evenly distributed.
- Gradually add 4–6 tablespoons of ice water, one tablespoon at a time, mixing gently with a fork.
- Stop adding water once the dough holds together when pinched.
Step 2: Rolling and Shaping the Crust
Once your dough is ready, it’s time to roll and shape it into the perfect crust. This step requires a light touch and attention to detail.
Tips for Rolling Out the Dough Evenly

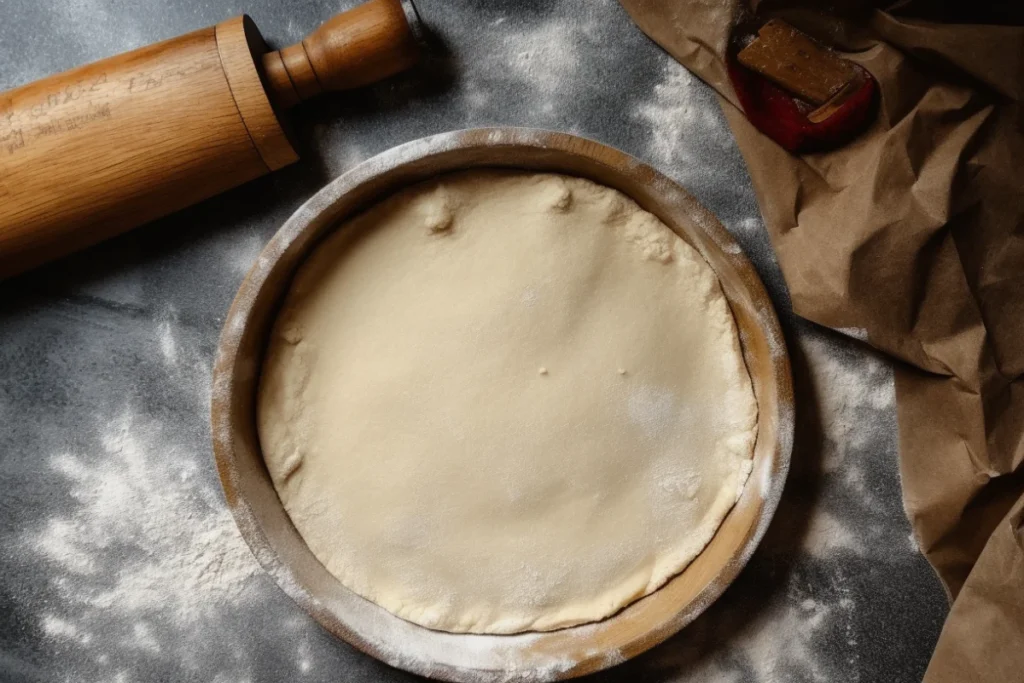
- Divide the dough in half and form each piece into a flat disc.
- Place the dough on a lightly floured surface or pastry mat.
- Roll out from the center, turning the dough frequently to maintain an even thickness.
- The ideal thickness is about ⅛ inch.
Avoiding Tears and Cracks While Shaping
- If the dough tears, use a small piece of dough to patch it by gently pressing it into place.
- Avoid overhandling, as this can warm the shortening and compromise flakiness.
Step 3: Pre-Baking or Filling the Crust
The final step is preparing the crust for its intended use—whether you’re blind baking for a cream pie or filling it with fruit for a traditional bake.
Blind Baking: When and Why to Do It
Blind baking is essential for:
- Cream pies and tarts.
- Fillings that don’t require baking.
How to Blind Bake:
- Line the rolled-out crust with parchment paper or aluminum foil.
- Fill with pie weights or dried beans to prevent bubbling.
- Bake at 375°F for 15–20 minutes, then remove the weights and bake for another 5–10 minutes until golden.
Preparing the Crust for Different Fillings
For baked fillings, simply:
- Add the filling to the unbaked crust.
- Bake according to the recipe’s instructions, typically at 350°F–375°F.
Pro Tips for Perfection
- Always chill the dough for at least 30 minutes before rolling to make it easier to handle.
- When transferring the crust to a pie pan, gently fold it in quarters, then unfold it into the pan to avoid tearing.
- Trim the edges with a knife or scissors, leaving about ½ inch overhang to crimp.
Creative Variations of Crisco Pie Crust

While the classic recipe is a staple, adding a twist to your Crisco pie crust can make it even more versatile and flavorful.
Flavored Crusts: Adding Herbs, Spices, or Sweeteners
Enhance your crust by incorporating extra ingredients:
- Savory pies: Add finely chopped fresh herbs (like thyme or rosemary) to the flour mixture for quiches or pot pies.
- Sweet pies: Mix in ground cinnamon, nutmeg, or a tablespoon of sugar to complement fillings like apple or pumpkin.
Gluten-Free Crisco Pie Crust Recipe
For those with dietary restrictions, a gluten-free version of this crust is just as flaky and delicious:
- Substitute gluten-free all-purpose flour for traditional flour.
- Add ½ teaspoon of xanthan gum if your flour blend doesn’t already include it.
- Follow the same steps as the classic recipe, using slightly less water to avoid a sticky dough.
Whole Wheat Crisco Pie Crust: A Healthier Twist
Swap out half of the all-purpose flour for whole wheat flour to create a heartier, more nutrient-rich crust:
- Whole wheat adds a slightly nutty flavor and pairs well with savory or rustic fruit pies.
Troubleshooting Common Pie Crust Problems
Even experienced bakers encounter challenges with pie crusts. Here’s how to fix the most common issues.
How to Fix Crumbly Dough
If your dough is too dry and falls apart:
- Gradually add more ice water, one teaspoon at a time, until the dough holds together.
- Avoid overworking the dough, as this can cause toughness.
Preventing Soggy Bottoms
A soggy crust can ruin a pie. To avoid this:
- Blind bake for wet fillings like custards or fruit pies.
- Use a baking stone or place the pie pan on the bottom rack of the oven to ensure even heat distribution.
- Brush the crust with egg wash or sprinkle with a light coating of sugar or flour before adding the filling.
Salvaging Overworked Dough
Overworked dough becomes tough because too much gluten develops. If this happens:
- Rest the dough in the refrigerator for at least 30 minutes to relax the gluten.
- Roll out carefully, minimizing additional handling.
Tips for Baking the Perfect Pie Crust
Mastering a Crisco pie crust takes practice, but these tips can make the process easier and more rewarding.
How to Store Unbaked and Baked Crusts
- Unbaked crusts: Wrap tightly in plastic wrap and store in the refrigerator for up to 3 days or freeze for up to 3 months.
- Baked crusts: Let cool completely, then wrap and store at room temperature for up to 2 days or freeze for long-term storage.
Freezing Tips for Make-Ahead Convenience
Freezing pie crust dough is a great way to save time:
- Roll the dough into a disc and wrap it tightly in plastic wrap and aluminum foil.
- Label and freeze for up to 3 months.
- Thaw in the refrigerator overnight before rolling.
Pairing Crisco Pie Crust with Different Pie Fillings
The neutral flavor and flakiness of a Crisco crust make it ideal for a variety of fillings:
- Sweet pies: Apple, cherry, pecan, and cream pies.
- Savory pies: Quiches, chicken pot pies, and meat pies.
FAQs About Crisco Pie Crust
Here are answers to the most common questions about Crisco pie crust:
- Can you substitute Crisco with other fats? Yes, butter or lard can be used, but the texture and flavor will differ.
- How long does Crisco pie crust last? Unbaked dough lasts 2–3 days in the refrigerator and up to 3 months in the freezer. Baked crusts last 1–2 days at room temperature or 1 month frozen.
- Is pie crust better with butter or Crisco? Pie crust is better with butter for flavor and flakiness, while Crisco excels in tenderness and ease of handling—combining both offers the best results.
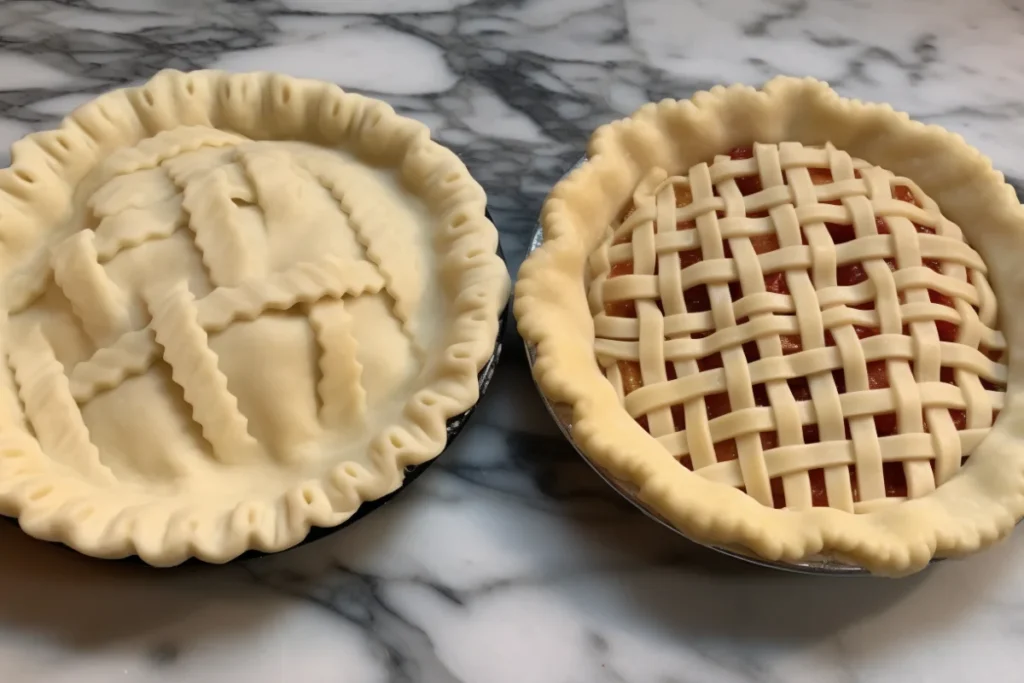
- How can I make a decorative edge? Use your fingers or a fork to crimp the edges, or use a fluted pastry cutter for a scalloped edge.
- Why is my Crisco pie crust falling apart? Your Crisco pie crust may be falling apart due to incorrect ingredient ratios, insufficient moisture, overhandling, or environmental factors like temperature and humidity.
- Do I need to grease the pie pan? No, the fat in the dough is typically enough to prevent sticking.
- What is one thing you should not do when making pie crust? One thing you should not do when making pie crust is overmix the dough, as it activates too much gluten and results in a tough, chewy crust.
- Why add vinegar to pie crust? Adding vinegar to pie crust tenderizes the dough by reducing gluten formation, resulting in a flaky and more manageable crust.
- What’s the difference between Crisco and butter in a pie crust? Crisco creates a flakier crust, while butter adds more flavor and browning.
- Can I use Crisco for gluten-free or vegan crusts? Yes! Crisco is naturally vegan, making it suitable for plant-based recipes. Pair it with gluten-free flour for a gluten-free version.

