Learn how to assemble a brookie step by step and create the ultimate brownie-cookie hybrid dessert that everyone will love.
Introduction
A brookie is a delightful hybrid dessert that combines the rich, fudgy texture of a brownie with the chewy, buttery goodness of a cookie. Knowing how to assemble a brookie correctly ensures that each bite is an indulgent blend of these two classic treats. In this comprehensive guide, we will walk you through the entire process, from selecting the ingredients to serving your brookie masterpiece. For tips on enhancing your baking skills, you might want to check out this baking techniques guide and ingredient selection tips.
Brookies are not just an ordinary dessert; they are the perfect fusion of two beloved treats that create an entirely new and exciting experience. The interplay between the rich chocolate brownie base and the soft, chewy cookie layer is what makes brookies irresistible to many dessert lovers. Whether you are making them for a special occasion, a potluck, or simply to enjoy on a cozy evening, learning how to assemble a brookie to perfection will ensure you achieve a crowd-pleasing dessert every time.
What is a Brookie?
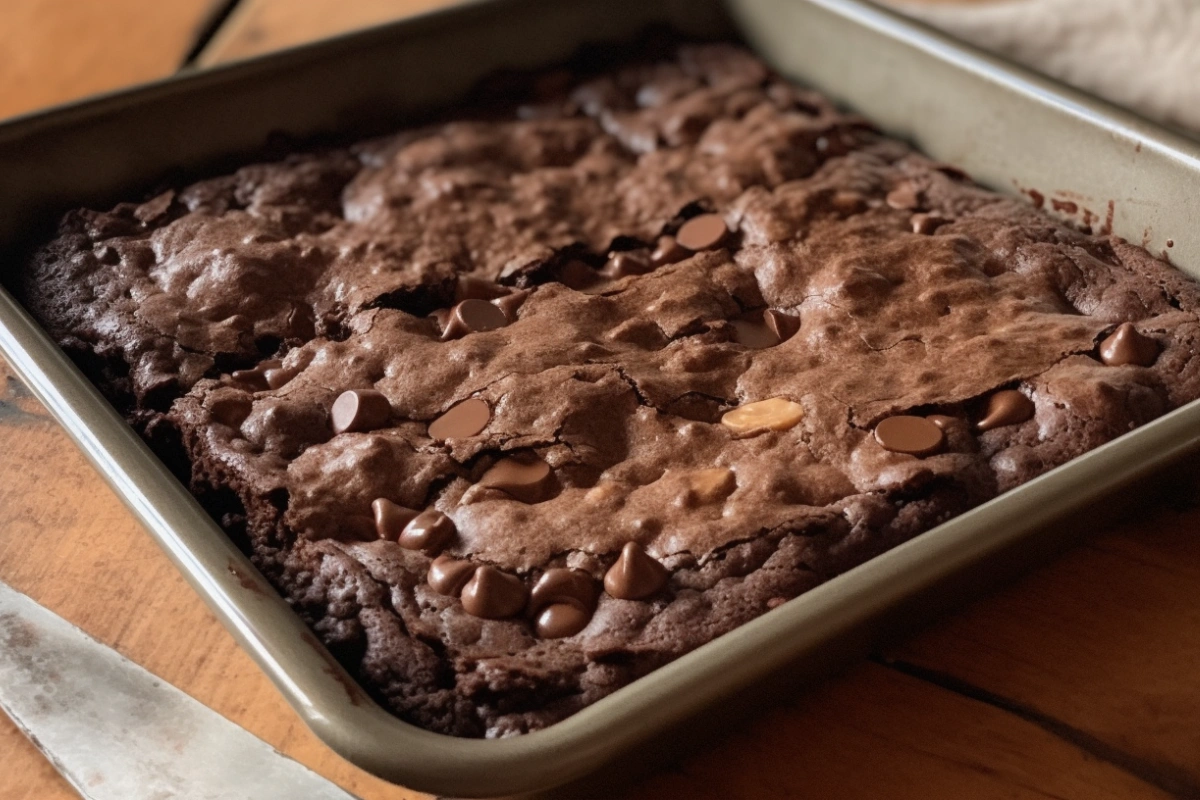
A brookie is essentially a mashup between a brownie and a cookie. Imagine the gooey richness of a brownie seamlessly mingling with the crisp and chewy texture of a chocolate chip cookie. This dessert has become a favorite for those who simply can’t decide between these two classic sweets.
Brookies first gained popularity in bakeries across the United States, often featured as a unique way to enjoy the best of both worlds. Whether it’s for a special occasion or just a weekend treat, brookies are sure to satisfy any sweet tooth.
The brownie layer, rich and chocolatey, creates the dense base, while the cookie dough adds a soft, flavorful topping. These layers meld together during baking, creating a beautiful marbled effect that is as visually appealing as it is delicious. The texture contrast—the fudgy, dense brownie with the lighter, chewy cookie—delivers a decadent experience that makes brookies a true hybrid favorite.
Brookies are not only perfect for those who want to indulge, but they are also an excellent way to introduce variety into your baking repertoire. The process of creating a brookie offers many opportunities to customize the dessert to suit individual tastes, making it a versatile addition to any baker’s recipe collection.
Ingredients Needed to Assemble a Brookie
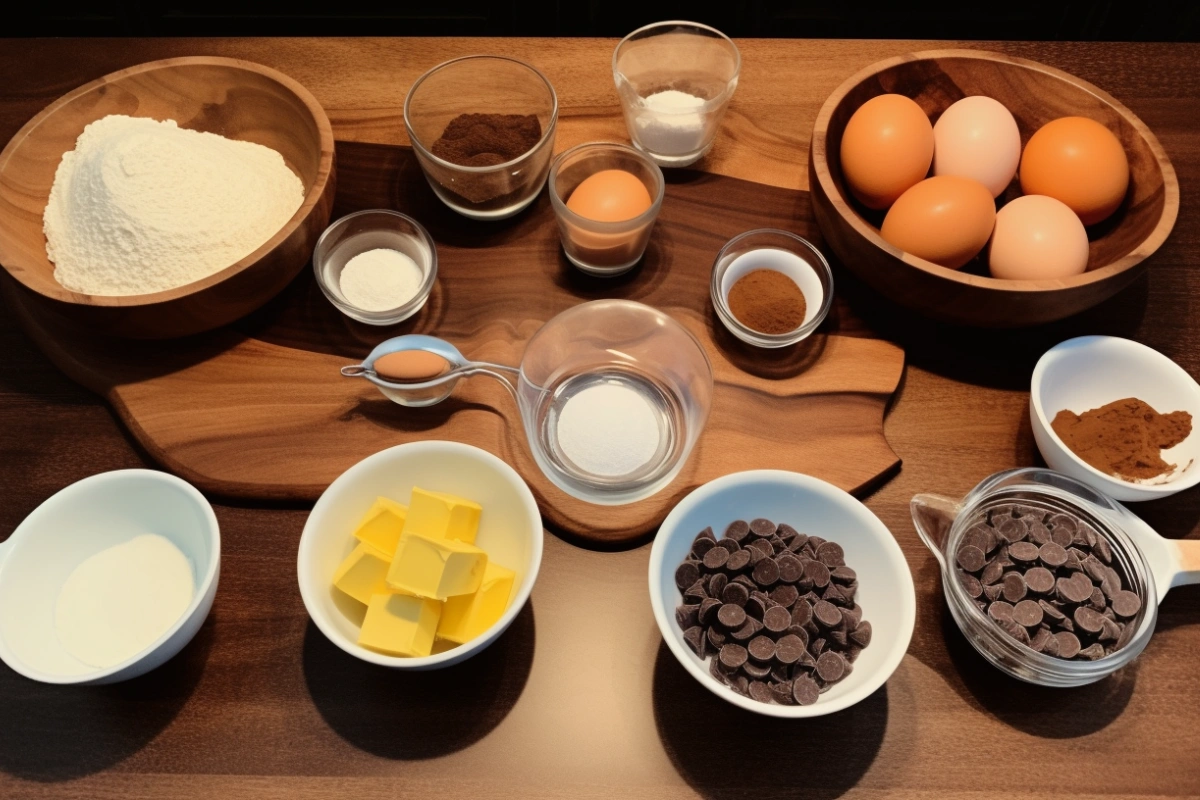
To create the perfect brookie, it’s crucial to start with the right ingredients for each layer. Below is everything you’ll need for both the brownie and cookie portions:
Brownie Layer Ingredients
- 1/2 cup unsalted butter
- 1 cup granulated sugar
- 2 large eggs
- 1/3 cup cocoa powder
- 1/2 cup all-purpose flour
- 1/4 teaspoon salt
- 1/4 teaspoon baking powder
These classic brownie ingredients form the base of your brookie. It’s important to use good quality butter and cocoa powder, as these ingredients largely determine the richness and flavor of the brownie layer. Melted butter makes the brownies extra fudgy, while the combination of sugar and eggs adds to the chewiness.
Cookie Layer Ingredients
- 1/2 cup unsalted butter, softened
- 1/2 cup brown sugar
- 1/4 cup granulated sugar
- 1 large egg
- 1 teaspoon vanilla extract
- 1 1/4 cups all-purpose flour
- 1/2 teaspoon baking soda
- 1/4 teaspoon salt
- 1 cup chocolate chips
For the cookie layer, it’s essential to get the balance right between the sugars—brown sugar provides moisture and chewiness, while granulated sugar contributes to the crispiness. Using good-quality chocolate chips will also ensure that the chocolate flavor comes through strongly and complements the brownie layer.
Using high-quality ingredients will make a noticeable difference in the taste of your brookie. For example, using premium cocoa powder and real vanilla extract can elevate the flavors significantly.
If you need to make adjustments, consider these common substitutions:
- Gluten-Free: Use a gluten-free flour blend in place of all-purpose flour.
- Vegan: Substitute butter with a vegan butter alternative and use flax eggs instead of regular eggs.
- Low-Sugar Option: Use sugar substitutes like monk fruit sweetener or erythritol for a lower sugar brookie.
Each of these substitutions can be done without significantly impacting the overall texture or flavor, allowing you to cater to dietary restrictions without sacrificing taste.
Tools and Equipment for Making Brookies
To make a brookie successfully, having the right tools on hand can make all the difference.
Essential Kitchen Tools
- Mixing Bowls: One for the brownie batter and one for the cookie dough.
- Baking Pan: A 9×9-inch pan works best for even layers.
- Measuring Cups and Spoons: Accurate measurements are key for both layers.
Optional Tools
- Electric Mixer: Speeds up the process of creaming butter and sugar for the cookie dough.
- Silicone Spatula: Helps in scraping every last bit of batter from the bowls.
- Parchment Paper: Makes it easier to remove the brookie from the pan after baking and helps prevent sticking.
Choosing the correct baking pan size is critical. A pan that’s too large will spread the batter too thin, affecting the final texture of the brookie. Likewise, a pan that’s too small can lead to uneven cooking, leaving parts of the brookie undercooked.
It’s also helpful to have a cooling rack for faster and more even cooling, which can prevent overbaking from residual heat in the pan.
Step-by-Step Guide: How to Assemble a Brookie
Preparing the Brownie Layer
- Preheat the Oven: Set your oven to 350°F (175°C) before you begin. Preheating is crucial for even baking.
- Melt the Butter: In a microwave-safe bowl, melt the butter. Let it cool slightly before adding the sugar. Overheating the butter can lead to a grainy texture.
- Mix the Wet Ingredients: Stir in the granulated sugar and then add the eggs, one at a time. Beat until fully combined. The key is to ensure the sugar dissolves well, contributing to a smooth texture.
- Add Dry Ingredients: Sift in the cocoa powder, flour, salt, and baking powder. Mix until just combined to avoid overmixing, which can make the brownies tough.
- Pour into Pan: Pour the brownie batter into the prepared baking pan, spreading it evenly. Use a spatula to ensure the corners are filled, as these areas can often end up thinner than the center.
Preparing the Cookie Layer
- Cream Butter and Sugars: In a separate bowl, cream together the softened butter, brown sugar, and granulated sugar until fluffy. This step is crucial for creating the chewy texture of the cookie layer.
- Add Wet Ingredients: Mix in the egg and vanilla extract until well combined. The vanilla extract enhances the overall flavor, adding depth to the cookie dough.
- Combine Dry Ingredients: Gradually add flour, baking soda, and salt to the mixture. Fold in the chocolate chips. Folding gently will keep the dough light and prevent it from becoming dense.
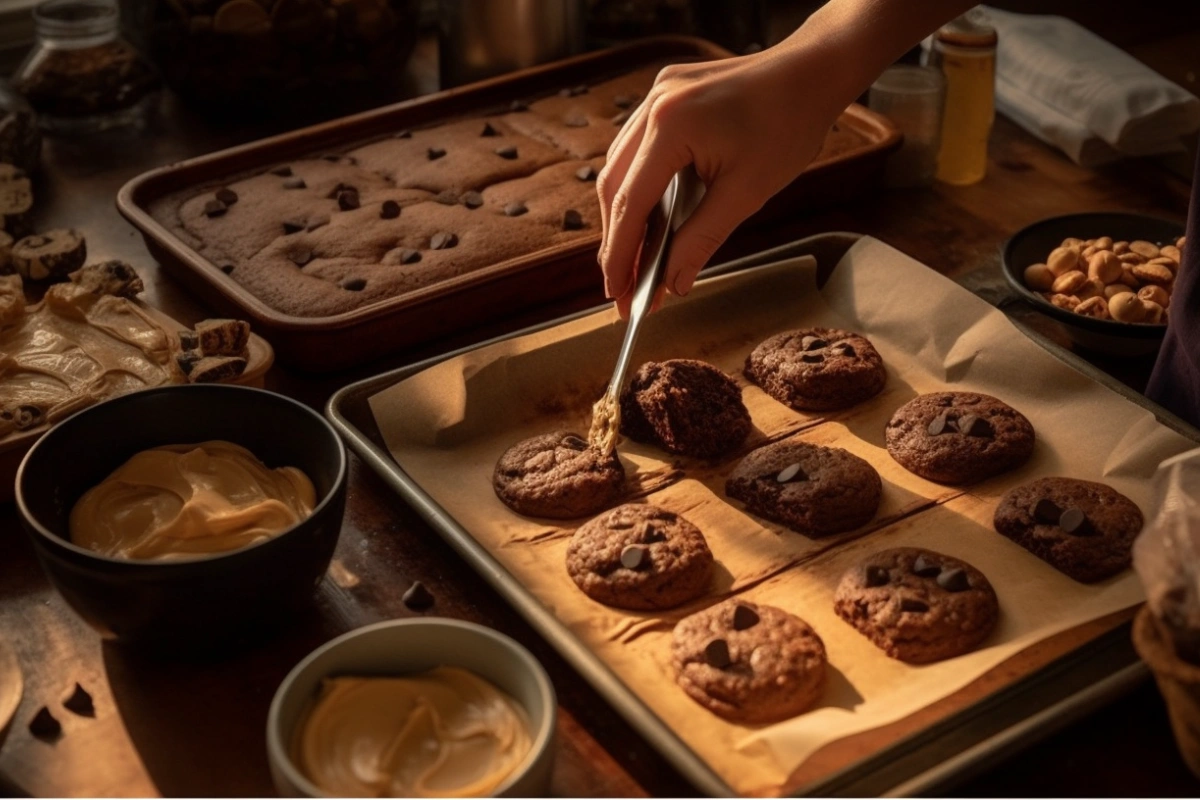
- Layer on Brownie Batter: Drop spoonfuls of cookie dough over the brownie layer. Use a spatula to gently spread it without disturbing the brownie base. It’s okay if it doesn’t completely cover the brownie layer; the cookie dough will spread as it bakes.
Layering the Brookie
For the perfect brookie, it’s important to layer the cookie dough carefully over the brownie batter. Try not to push too hard as you spread the cookie layer to maintain distinct textures.
Another approach to layering involves adding the cookie dough in patches rather than covering the entire brownie layer. This technique allows for an even more pronounced contrast between the two layers and creates a beautiful marbled look when cut.
Baking Tips for Perfect Brookies
Ideal Temperature and Time
Bake the brookie at 350°F for 25-30 minutes. The top should be golden and set, while a toothpick inserted into the center should come out with a few moist crumbs—this indicates a fudgy brownie layer.
If the toothpick comes out completely clean, the brookie may be overbaked, leading to a drier texture. Adjusting the baking time based on your preference for either a gooey or cakey texture is important.
Common Baking Mistakes
- Overmixing: Overmixing either the brownie or cookie batter can lead to a tough texture. Always mix until the ingredients are just incorporated.
- Incorrect Oven Temperature: Always preheat your oven and use an oven thermometer if necessary. Baking at the wrong temperature can cause the layers to bake unevenly.
- Uneven Layering: Ensure that both the brownie and cookie layers are spread evenly in the pan. Uneven layers can result in inconsistent baking.
Adjustments for Different Ovens
If using a convection oven, reduce the temperature by 25°F. Check for doneness a few minutes earlier, as convection ovens often bake faster.
For toaster ovens or smaller countertop ovens, it may be necessary to further reduce the temperature and closely monitor the brookie during baking. These ovens can have hot spots, which may cause the brookie to bake unevenly.
For additional baking tips and techniques, visit King Arthur Baking’s Tips & Techniques.
Cooling and Cutting the Brookie
Allow the brookie to cool in the pan for at least 20 minutes before attempting to cut it. This cooling period allows the layers to set and makes cutting easier.
Tips for Clean Slices
- Use a Sharp Knife: A sharp knife will help create clean, even slices. Dull knives can drag through the layers and cause them to crumble.
- Warm the Knife: Running the knife under hot water and wiping it clean between cuts can help achieve perfect edges. This is especially helpful when the chocolate chips are still slightly melted.
- Chill Before Cutting: For especially clean edges, you can chill the brookie in the refrigerator for about 30 minutes before cutting. This firms up both layers, making slicing much easier.
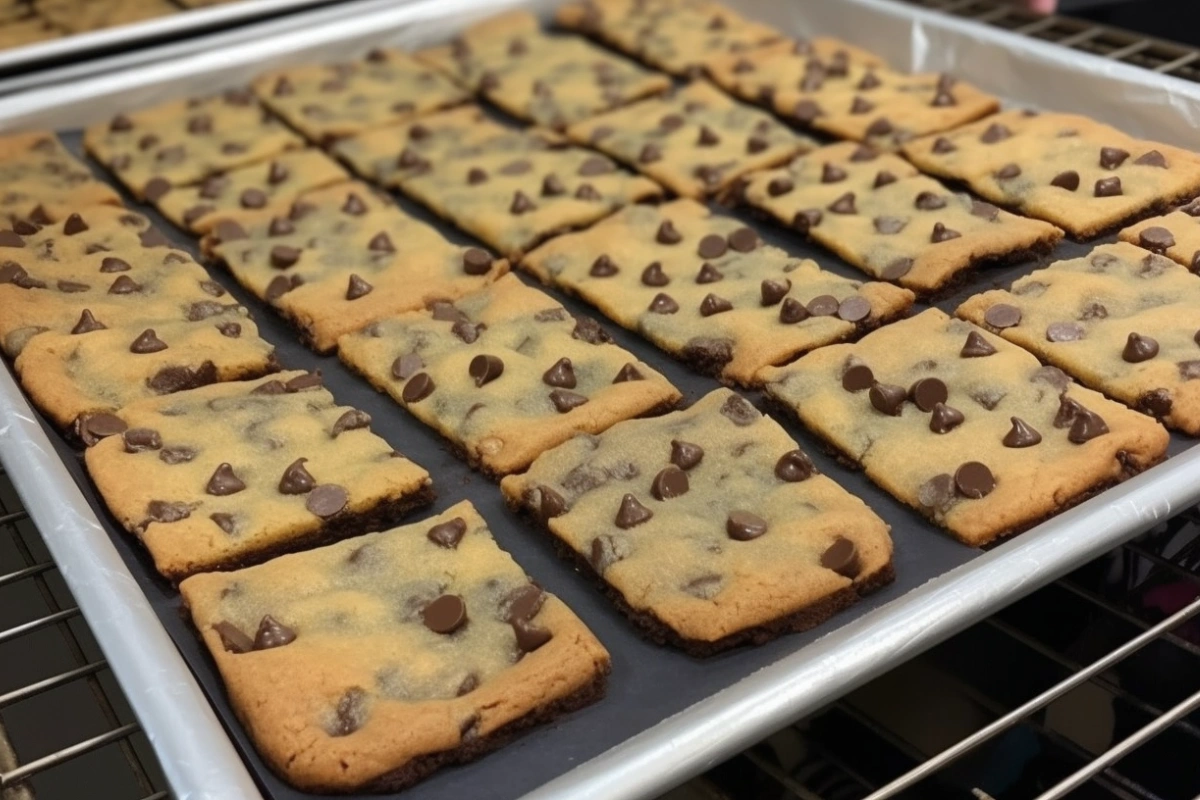
Cutting brookies into small squares or bars also makes them perfect for sharing, and the layered contrast looks more appealing when cut neatly. Another fun idea is to use cookie cutters for different shapes, especially for themed parties or special occasions.
Variations of Brookies
Flavor Combinations
Brookies are highly versatile. Here are some popular variations:
- Peanut Butter Brookie: Add a swirl of peanut butter to the brownie layer. The peanut butter adds a creamy richness that complements the chocolate flavor.
- White Chocolate Macadamia: Replace chocolate chips with white chocolate and add macadamia nuts for a twist. This variation adds a nutty crunch that balances the sweetness of the white chocolate.
- Mint Brookie: Add peppermint extract to the cookie dough and sprinkle crushed peppermint candies on top before baking. The mint flavor pairs beautifully with the richness of the brownie layer.
Add-ins and Toppings
- Nuts: Walnuts or pecans add a delightful crunch. They also contribute a slightly savory note that balances the sweetness of the brookie.
- Caramel Drizzle: Add caramel sauce over the top after baking for extra decadence. You can also add a layer of caramel between the brownie and cookie layers for a gooey center.
- Sea Salt: A sprinkle of sea salt on top can help balance the sweetness. The salty contrast brings out the depth of flavors in both the brownie and cookie components.
How to Adapt the Recipe for Mini Brookies or Brookie Bars
- Mini Brookies: Use a muffin tin instead of a baking pan to create individual servings. Reduce the baking time to 15-20 minutes, checking frequently for doneness.
- Brookie Bars: For a more portable option, use a larger pan (such as 9×13-inch) to create thinner layers, and cut them into bars after baking. These are perfect for school lunches or picnic treats.
Experimenting with different sizes and variations allows you to customize the brookie experience to any occasion, making it easy to adapt the recipe for different events or gatherings.
Storing and Serving Brookies
Storing Tips
- Room Temperature: Store brookies in an airtight container at room temperature for up to 3 days. Place parchment paper between layers to prevent them from sticking together.
- Freezing: Wrap individual slices in plastic wrap and store them in a freezer-safe bag for up to 2 months. To enjoy, thaw at room temperature or reheat briefly in the microwave.
Proper storage ensures that the brookies retain their moist and chewy texture. Airtight containers are essential for keeping the dessert fresh and preventing it from drying out.
Reheating Options
Reheat in a microwave for 10-15 seconds to enjoy a warm brookie with a melty cookie layer and fudgy brownie texture. If you prefer a crispier texture, you can reheat the brookie in an oven at 300°F for about 5 minutes.
Reheating the brookies brings back their freshly baked feel, especially if you enjoy them with a scoop of ice cream or a drizzle of chocolate sauce.
Creative Serving Ideas
- With Ice Cream: Serve warm brookies with a scoop of vanilla ice cream. The contrast between the warm brookie and the cold ice cream creates a wonderful texture combination.
- Layered Dessert: Cut brookies into small cubes and layer them in a parfait with whipped cream and fruit. This is a fun and visually appealing way to serve brookies, especially for dinner parties.
- Brookie Sundae: Create a brookie sundae by topping a slice with whipped cream, chocolate sauce, and a cherry. This turns a simple brookie into a showstopping dessert.
Frequently Asked Questions (FAQs)
What is a Brookie Made Of?
A brookie is made of two primary layers: a brownie layer and a cookie layer. The brownie layer consists of traditional brownie ingredients like cocoa powder, butter, and sugar, while the cookie layer includes ingredients similar to those in a classic chocolate chip cookie.
What’s the Difference Between a Blondie and a Brookie?
A blondie is a brownie without cocoa powder, featuring a butterscotch-like flavor. A brookie, on the other hand, combines a brownie with a cookie layer, offering two different textures and flavors in one dessert.
While blondies are characterized by their rich vanilla and brown sugar notes, brookies provide a combination of chocolatey richness and cookie sweetness. This makes brookies more complex in flavor and texture compared to a simple blondie.
How to Make a Bronkie?
A “bronkie” is often used to describe a brookie variation with unique flavors, such as adding oats or peanut butter. To make one, follow the standard brookie recipe, but add rolled oats to the cookie layer or swirl peanut butter through the brownie batter.
Bronkies can be further customized with add-ins like chocolate chips, chopped nuts, or even dried fruits for additional texture and flavor. This variation adds a new dimension to the traditional brookie, making it even more versatile.
Conclusion
Assemble a brookie involves creating two distinct layers that complement each other perfectly—the fudgy brownie and the chewy cookie. By following this guide, you’ll be able to make a delicious brookie that will impress your friends and family. Don’t hesitate to experiment with flavors and ingredients to create your signature version of this beloved dessert.
Brookies are a perfect treat for all occasions, and the process of making them is both fun and rewarding. The combination of rich brownie and chewy cookie is sure to be a hit with everyone who tries it. Remember, baking is as much about experimentation as it is about precision, so enjoy the process and make the brookie your own.


