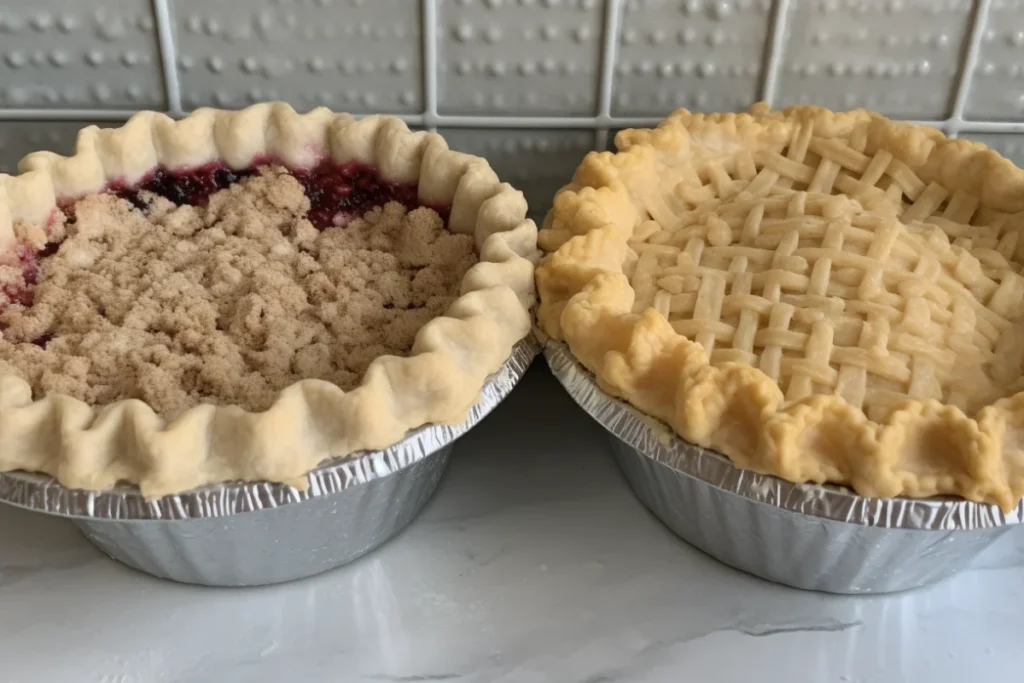
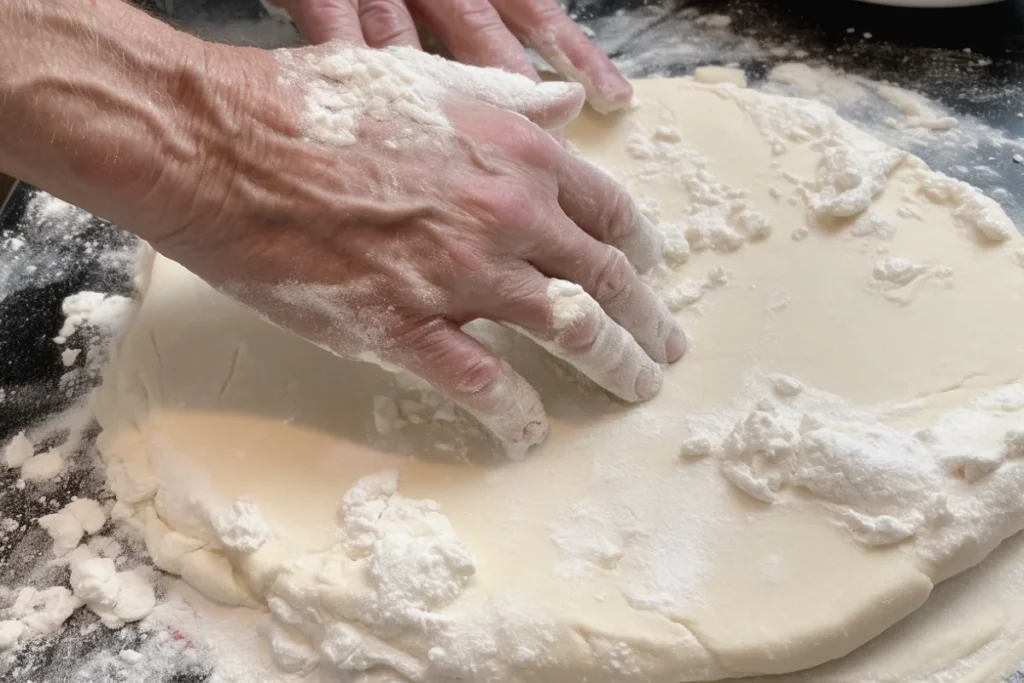
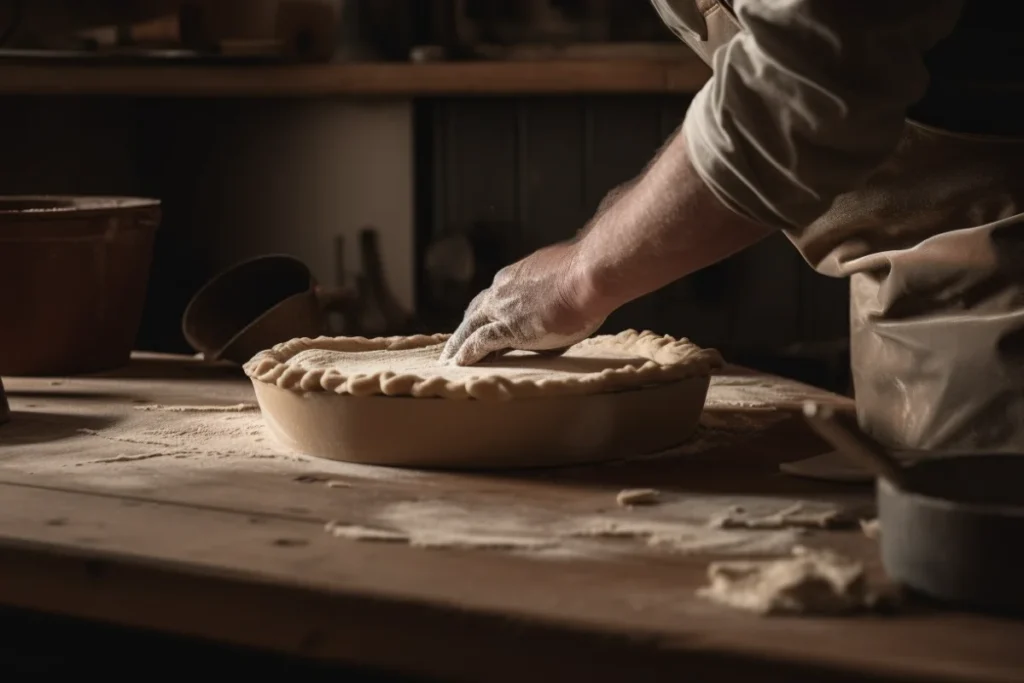
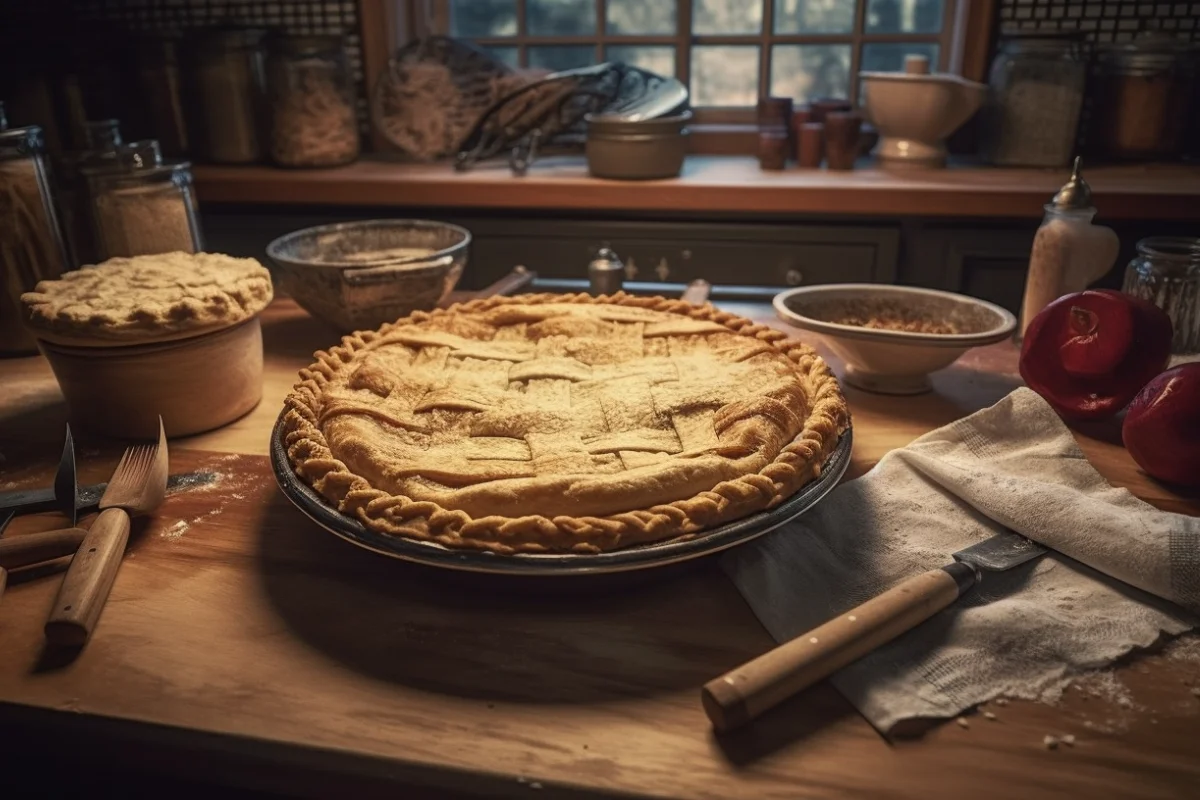
Pie crust is a baking classic, but getting it just right can be tricky. Many people struggle to achieve the perfect combination of flakiness, flavor, and texture. This guide dives into the essential basics of pie crust making, outlines common mistakes, and provides actionable tips to help you craft a crust worthy of admiration.
Introduction to Pie Crust Basics
What is Pie Crust?

At its core, a pie crust is the foundation of a delicious pie. It’s a mixture of simple ingredients like flour, fat, and water, but the way these ingredients are combined creates a flaky, tender base that complements the filling.
There are several types of pie crusts to choose from:
- Flaky crusts: Perfect for fruit pies, these have layers that melt in your mouth.
- Mealy crusts: Best for custard pies, they’re sturdier and absorb less moisture.
- Sweet crusts (pâte sucrée): Often used in tarts, these are crumbly and slightly sweet.
The Importance of Technique in Pie Crust Making
Mastering the technique is critical. A great pie crust should:
- Be light and flaky, with defined layers.
- Hold its shape without shrinking or tearing.
- Offer a balanced, buttery flavor that complements the filling.
Without proper technique, you risk ending up with a tough, soggy, or uneven crust. For instance, overworking the dough can activate too much gluten, leading to a chewy texture. On the flip side, handling it too little can leave clumps of flour unincorporated.
Essential Ingredients in Pie Crust
To make the perfect pie crust, you need these core ingredients:
- Flour: Provides the structure. All-purpose flour is a common choice.
- Fat: Adds richness and creates flakiness. Options include:
- Butter: For flavor and flaky layers.
- Shortening: For stability and tenderness.
- Lard: For exceptional flakiness.
- Water: Binds the ingredients together. Always use cold water to prevent the fat from melting prematurely.
- Salt and Sugar: Enhance flavor and balance.
Each ingredient plays a role in creating a crust that’s as functional as it is flavorful.
Tools and Equipment Needed
Having the right tools can make all the difference:
- Rolling pin: Ensures even thickness.
- Pastry cutter or food processor: For incorporating fat into flour evenly.
- Mixing bowls: Preferably chilled, to keep ingredients cool.
- Pie weights: Prevent bubbles during blind baking.
- Bench scraper: Helps transfer dough without tearing.
These tools ensure consistency and help avoid common pitfalls, like uneven rolling or overmixing.
Overview of Common Pie Crust Problems
Even experienced bakers face challenges. Some frequent issues include:
- Tough crusts: Often caused by overmixing or using too much water.
- Soggy bottoms: Occur when the filling releases moisture, soaking the crust.
- Shrinking dough: Happens when the dough isn’t properly rested before baking.
Each problem has a solution, and understanding these issues sets you up for success, read this article for more details: click-here
Common Mistakes and How to Avoid Them

Overmixing the Dough
Overmixing is one of the most common mistakes in pie crust making. When you work the dough too much, it activates gluten in the flour, leading to a crust that’s chewy rather than flaky.
How to avoid it:
- Use a gentle hand when combining ingredients.
- Mix just until the dough comes together—visible bits of butter are a good sign.
- Consider using a pastry cutter or food processor for minimal handling.
Using the Wrong Type of Fat
The type of fat you choose significantly affects your crust’s texture and flavor. Here’s a comparison:
- Butter: Provides a rich flavor and flaky texture.
- Shortening: Makes the crust more stable but lacks flavor.
- Lard: Delivers unparalleled flakiness but has a distinct taste.
How to avoid mistakes:
- Use a mix of fats (e.g., butter for flavor and shortening for stability).
- Experiment with different combinations to suit your taste and pie type.
Not Keeping Ingredients Cold
Temperature is crucial in pie crust making. Warm ingredients cause the fat to melt too early, which prevents the formation of flaky layers.
How to avoid it:
- Chill your ingredients before starting (flour, butter, and even mixing bowls).
- If the dough starts to warm up, refrigerate it for 15–20 minutes before proceeding.
Adding Too Much Water
Too much water results in a gummy, sticky dough that’s difficult to roll out and handle.
How to avoid it:
- Add water gradually, one tablespoon at a time.
- Stop as soon as the dough holds together when pressed.
Rolling Out the Dough Incorrectly
Rolling the dough incorrectly can ruin the texture. Overhandling stretches the dough, making it tough and prone to shrinking during baking.
How to avoid it:
- Roll from the center outward, turning the dough frequently to maintain even thickness.
- Use light pressure to avoid compressing the layers.
- Dust the rolling surface lightly with flour but avoid over-flouring.
Not Allowing the Dough to Rest
Skipping the resting process is a frequent mistake that can lead to a chewy crust or one that shrinks in the oven. Resting allows the gluten in the dough to relax and ensures that the fat firms up, which is critical for maintaining the crust’s structure during baking.
How to avoid it:
- Always chill your dough for at least 30 minutes after mixing and before rolling.
- If possible, chill the dough again after rolling it out and before baking to prevent shrinking.
Forgetting to Blind Bake
Blind baking involves partially or fully pre-baking the crust before adding the filling. It’s especially important for custard or no-bake fillings, where a soggy crust can ruin the pie.
How to avoid it:
- Line the crust with parchment paper and fill it with pie weights or dried beans to prevent bubbling.
- Bake at the recommended temperature until the crust is golden or partially set.
- Remove the weights during the last few minutes to crisp up the bottom.
Using Too Much Flour When Rolling
While flour is necessary to prevent sticking, using too much can dry out the dough, making it tough and less flavorful.
How to avoid it:
- Use just enough flour to lightly coat your work surface and rolling pin.
- Rotate the dough frequently to ensure it doesn’t stick without overloading it with flour.
- A silicone baking mat can also help minimize sticking without extra flour.
Not Venting the Top Crust
For double-crust pies, venting is essential to release steam. Without proper vents, the steam gets trapped, leading to soggy layers and an uneven bake.
How to avoid it:
- Use a sharp knife or kitchen shears to cut small slits in the top crust before baking.
- Get creative with lattice designs or decorative cutouts that serve both aesthetic and functional purposes.
Baking at the Wrong Temperature
The temperature at which you bake your pie plays a significant role in the texture and color of the crust. A low temperature can leave the crust pale and soggy, while an overly high temperature can burn the edges.
How to avoid it:
- Preheat your oven to the temperature recommended in your recipe (usually between 375°F and 425°F).
- Consider using a pie shield or foil to cover the edges if they brown too quickly.
- Adjust baking times for different fillings—denser fillings may require lower, slower baking.
Skipping the Egg Wash
An egg wash isn’t just for looks; it also contributes to the crust’s texture and flavor. Without it, the crust can look dull and unappealing.
How to avoid it:
- Whisk together an egg with a splash of milk or water and brush it evenly over the crust before baking.
- For a golden sheen, use just egg yolk. For a lighter color, use whole egg.
- Alternatives like milk or cream can work if you don’t have eggs on hand.
Rushing the Process
Patience is key when making pie crust. Many issues, such as tough dough or uneven baking, stem from rushing through steps.
How to avoid it:
- Allocate enough time for each step, including mixing, rolling, resting, and baking.
- Plan ahead so you aren’t tempted to cut corners, especially with chilling times.
- Remember: a little extra effort can make a big difference in the final product.
Understanding Altitude and Climate Adjustments
Your environment can significantly impact how your pie crust behaves. High altitudes or humid climates require adjustments to prevent mishaps.
How to avoid it:
- In humid climates, reduce the water slightly to account for extra moisture in the air.
- In dry climates, you may need to add a touch more water or fat to keep the dough from cracking.
- At high altitudes, bake at a slightly lower temperature and reduce baking time.
Fixing Mistakes on the Fly

Even experienced bakers encounter issues. Learning how to fix common problems can save a pie from disaster.
How to fix common mistakes:
- Too dry: Add a teaspoon of cold water and knead gently until the dough holds together.
- Too sticky: Sprinkle with flour sparingly and fold until manageable.
- Overworked dough: Let it rest for at least 30 minutes to relax the gluten.
- Tears or cracks: Patch them with excess dough or press gently with damp fingers to seal.
Advanced Tips and Solutions for Perfect Pie Crust
Skipping the Resting Process
The resting process is a crucial step often overlooked in pie crust making. This step allows the dough to relax, preventing it from shrinking during baking. It also firms up the fat, ensuring that the crust holds its shape and remains flaky.
Why it matters:
- Resting the dough helps prevent the development of excess gluten.
- A well-rested dough is easier to roll out and less likely to tear or crack.
Pro Tip:
Chill your dough for at least 30 minutes in the refrigerator after mixing and again after rolling it out. For even better results, some bakers rest their dough overnight, allowing the flavors to meld.
Forgetting to Blind Bake
Blind baking is essential for pies with moist fillings, such as custard or cream pies. Without it, you risk a soggy bottom, where the crust absorbs too much liquid and loses its crisp texture.
How to blind bake:
- Roll out the dough and place it in the pie pan.
- Line the crust with parchment paper or aluminum foil.
- Fill the crust with pie weights, dried beans, or uncooked rice to prevent bubbling.
- Bake at 375°F (190°C) for 15–20 minutes, then remove the weights and bake for another 5–10 minutes until golden.
Pro Tip:
For an extra crispy bottom, brush the crust with egg wash or melted butter after the initial bake and return it to the oven for 2–3 minutes.
Using Too Much Flour When Rolling
Adding too much flour to prevent sticking during rolling can lead to a dry, tough crust. It’s a delicate balance—you need enough flour to prevent sticking but not so much that it alters the dough’s texture.
How to prevent over-flouring:
- Lightly dust your rolling pin and work surface with flour.
- Rotate the dough frequently to ensure even rolling.
- Use a silicone mat or parchment paper to roll out the dough, which minimizes the need for extra flour.
Pro Tip:
If you’ve added too much flour, brush off the excess with a pastry brush before transferring the dough to your pie pan.
Not Venting the Top Crust
A top crust without vents can trap steam, leading to soggy layers or an unappealing texture. Proper venting allows steam to escape, ensuring the filling cooks evenly and the crust remains crisp.
How to vent your pie:
- Use a sharp knife to make small slits or patterns in the top crust.
- For a decorative touch, use cookie cutters to create shapes that double as vents.
- If making a lattice crust, the natural gaps between the strips allow steam to escape.
Pro Tip:
Match your vent designs to the type of pie—simple slits for classic pies, and more elaborate designs for special occasions.
Baking at the Wrong Temperature
The temperature of your oven directly affects the crust’s texture and color. Baking at too low a temperature can result in a pale, undercooked crust, while too high a temperature may burn the edges before the filling is done.
Best practices for pie baking temperatures:
- Fruit pies: Bake at 375–400°F (190–200°C) to ensure a golden crust and thoroughly cooked filling.
- Custard pies: Start at 400°F (200°C) to set the crust, then reduce to 325–350°F (160–175°C) to cook the filling gently.
Pro Tip:
Use a pie shield or cover the edges with foil during baking to prevent over-browning.
Skipping the Egg Wash
An egg wash adds more than just a shiny finish—it enhances the crust’s texture and flavor, making it more visually appealing.
How to apply an egg wash:
- Beat one egg with a tablespoon of water or milk.
- Use a pastry brush to apply the mixture evenly over the crust before baking.
Pro Tip:
For a vegan alternative, brush the crust with coconut milk or a mixture of maple syrup and almond milk.
Rushing the Process
Patience is a baker’s best friend when making pie crust. Rushing through steps—such as skipping chilling times or overhandling the dough—can compromise the final product.
How to manage time effectively:
- Plan ahead: Make the dough a day in advance to avoid last-minute stress.
- Allow time for proper resting, rolling, and chilling.
- Focus on each step to ensure consistency.
Pro Tip:
Freeze pre-made dough discs to save time during busy baking seasons. Simply thaw in the refrigerator overnight before rolling.
Understanding Altitude and Climate Adjustments
Environmental factors like altitude and humidity can significantly impact pie crusts. High altitudes, for example, require adjustments to prevent the dough from becoming overly dry or rising too much.
How to adapt for different environments:
- High altitude: Decrease the fat slightly and add a bit more liquid to prevent dryness.
- Humid climates: Chill the dough longer and reduce the water to avoid stickiness.
- Dry climates: Add an extra tablespoon of fat or water to prevent cracking.
Pro Tip:
Test your recipe in your specific environment and make note of adjustments for future baking.
Fixing Mistakes on the Fly
Mistakes happen, even to seasoned bakers. The key is knowing how to recover quickly.
Quick fixes for common problems:
- Dough too dry: Sprinkle with cold water, one teaspoon at a time, and gently knead until it comes together.
- Dough too sticky: Chill for 10–15 minutes or lightly dust with flour.
- Torn dough: Use excess dough to patch holes, pressing gently to seal.
Pro Tip:
Keep a small amount of extra dough on hand for repairs or decorative accents.
Conclusion: Mastering the Art of Pie Crust
Making the perfect pie crust is both an art and a science. By avoiding common mistakes—like overmixing, skipping blind baking, or neglecting to chill—you can consistently achieve a crust that’s flaky, flavorful, and beautifully golden.
Remember, practice is the key to improvement. Each pie you bake brings you closer to mastering this essential skill. Don’t be afraid to experiment, learn from your mistakes, and savor the delicious rewards of your efforts.
FAQs About Pie Crust Perfection
- How do I prevent air bubbles in my crust?
Use pie weights during blind baking to keep the crust flat. - What’s the best way to transport a pie?
Use a pie carrier or place it in a shallow box with padding to prevent movement. - Why add vinegar to pie crust?
Adding vinegar to pie crust tenderizes the dough by reducing gluten formation, resulting in a flaky and more manageable crust. - Why is my crust pale after baking?
It may need more egg wash or a few extra minutes at a higher temperature. - What is the recipe of crisco pie crust?
The classic Crisco pie crust recipe combines flour, salt, water, and chilled Crisco to create a tender, flaky crust perfect for any pie. - Why is my Crisco pie crust falling apart?
Your Crisco pie crust may be falling apart due to insufficient water or overmixing, which prevents the dough from binding properly. - What’s the secret to even rolling?
Start from the center and roll outward, rotating the dough frequently. - Is pie crust better with butter or Crisco?
Pie crust with butter offers rich flavor and flakiness, while Crisco provides superior tenderness and stability; a mix of both is often ideal. - Can I bake multiple pies at once?
Yes, but rotate them halfway through for even baking. - What’s the best way to clean a sticky rolling pin?
Use a damp cloth and scrape gently with a bench scraper.

