Introduction to the Dump Method
What is the Dump Method?
The dump method of cake making is a simplistic yet effective technique designed for ease and speed. Unlike traditional cake making methods, this approach requires minimal effort and tools. The name stems from the literal action of “dumping” all parts into a single bowl before mixing and baking. This no-fuss process is perfect for beginners and busy individuals looking to whip up delicious cakes without elaborate steps.
The technique involves combining dry and wet parts directly without requiring creaming or gradual incorporation. The result is a soft and moist cake that feels home made without compromising on taste.
History of the Dump Method
The dump method originated as a solution for time pressed bakers in the mid-20th century, coinciding with the rise of pre-packaged cake mixes. It became popular during the post war era when convenience was a key focus in household cooking. Over time, it evolved into a go-to method for quick baking, embraced by home bakers and professionals alike.
Its legacy continues, thanks to its adaptability and straightforwardness. Today, the method remains a favorite for casual baking and is frequently featured in modern cook books.
For a deeper look at the history and variations of dump cakes, check out this Wikipedia article on Dump Cake.
Key Characteristics
The dump method is distinguished by several characteristics:
- Minimal tools: All you need is a bowl, a spatula, and a baking pan.
- One-bowl approach: Ingredients are mixed in a single box, reducing cleanup.
- Quick preparation: No extra steps like sifting or creaming are necessary.
- Consistency: Produces reliable results with minimal effort.
These features make it an ideal choice for both novice bakers and experienced cooks seeking simplicity.
Why It’s Called the Dump Method
The term “dump method” refers to the straightforward action of dumping parts together. This unpretentious naming reflects its informal, easygoing nature. There’s no need for precision layering or delicate handling, making it approachable for bakers of all skill levels.
Comparison with Other Cake-Making Methods
How does the dump method compare to other traditional techniques? Here’s a quick overview:
- Creaming Method: Requires butter and sugar to be creamed first, ensuring a light texture.
- Rubbing-in Method: Fat is rubbed into flour, typically for crumbly cakes or pastries.
- All-in-One Method: Similar to the dump method, but often requires more precise measurements and blending.
While the creaming and rubbing-in methods demand skill and time, the dump method prioritizes ease and speed, making it a standout option for casual baking.
Types of Cakes Suited for the Dump Method
The dump method works best for cakes that don’t require delicate textures or elaborate techniques. Popular options include:
- Sponge cakes
- Coffee cakes
- Sheet cakes
- Pineapple upside down cakes
- Chocolate and vanilla basic cakes
Its versatility allows bakers to experiment with flavors, toppings, and fillings without compromising simplicity.
Basic Principles of Dump Cake Making
The success of the dump method relies on a few foundational principles:
- Layering: Add dry parts first, followed by wet parts.
- Mixing: Stir gently to combine, avoiding overmixing.
- Baking: Ensure the oven is preheated for even cooking.
These simple rules help maintain the cake’s texture and prevent common issues like dryness or uneven baking.
Misconceptions About the Dump Method
Despite its popularity, the dump method is often misunderstood. Common myths include:
- “It’s only for amateurs.” In reality, many experienced bakers use this method for convenience.
- “The cakes are inferior.” Cakes made with this method can be just as delicious as those made with traditional techniques.
- “It’s only for pre-mixes.” While pre-mixed parts work well, scratch recipes are equally effective.
Clarifying these misconceptions underscores the method’s value in modern baking.
Ingredients and Tools Needed
Essential Ingredients

The dump method thrives on simplicity, and its core parts are staples you likely already have in your kitchen:
- Flour: All-purpose flour works best, but cake flour can be used for lighter textures.
- Sugar: Granulated sugar is most common, though brown sugar adds a richer flavor.
- Eggs: Act as a binding agent, providing structure to the cake.
- Butter or Oil: Fat adds moisture and richness to the batter.
- Liquid Components: Milk, water, or juice ensure the batter is properly hydrated.
These essentials form the base of almost every dump cake, regardless of flavor variations.
Optional Ingredients
Optional parts elevate your cake and make it uniquely yours:
- Chocolate Chips or Cocoa Powder: Add depth and decadence.
- Nuts and Seeds: For a crunchy texture.
- Fruits (Fresh or Canned): Bring freshness and natural sweetness.
- Spices (Cinnamon, Nutmeg, etc.): Infuse warm, aromatic flavors.
- Vanilla or Other Extracts: Enhance the overall taste profile.
The beauty of the dump method lies in its adaptability, allowing you to mix and match ingredients based on personal choices.
Special Requirements for Moist Cakes
To achieve a perfectly moist cake, liquids play a critical role. Consider these options:
- Buttermilk or Yogurt: Adds a tangy flavor and ensures tenderness.
- Sour Cream: Enhances richness.
- Vegetable Oil: Retains moisture better than butter in certain recipes.
- Fruit Purees: Applesauce or mashed bananas are excellent substitutes for fats, ideal for healthier versions.
By incorporating these, you can elevate the texture and flavor of your cake effortlessly.
Tools Required
The dump method requires only a few basic tools:
- Mixing Bowl: A large bowl to accommodate all ingredients.
- Measuring Cups and Spoons: Ensure proper proportions.
- Spatula or Whisk: For gentle mixing.
- Baking Pan: Depending on the type of cake, a round, square, or sheet pan will work.
- Oven Mitts: For safe handling.
This minimalist setup emphasizes the method’s ease and accessibility.
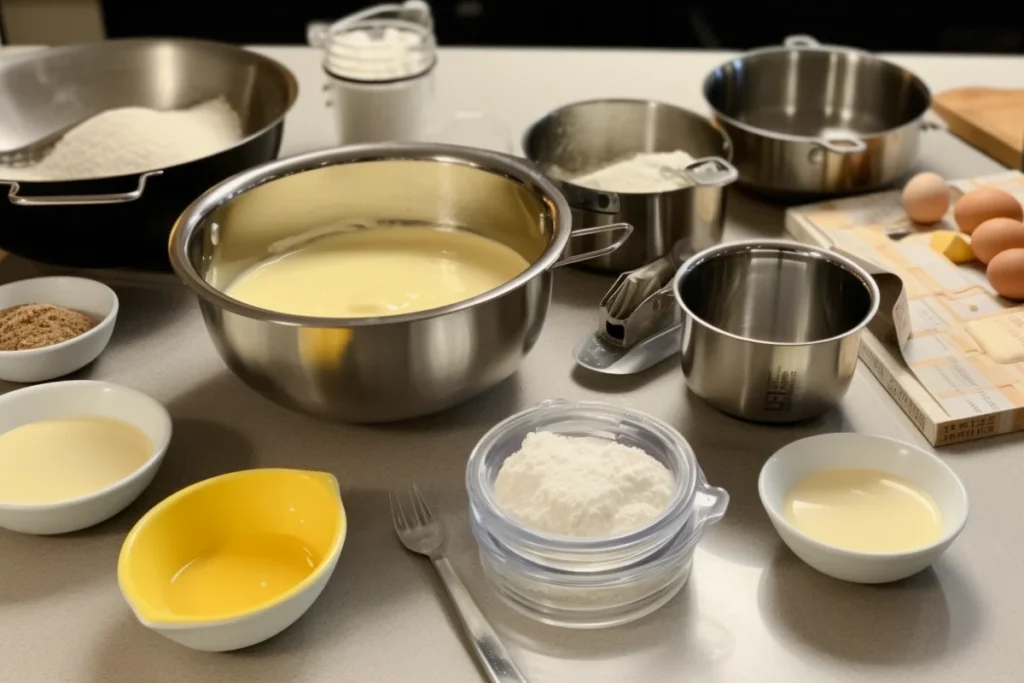
Prepping Your Workspace
An organized workspace streamlines the dump method. Follow these steps:
- Gather Ingredients: Measure all components before starting.
- Prepare Tools: Keep mixing bowls and utensils within arm’s reach.
- Preheat the Oven: Ensure it’s at the correct temperature to avoid delays.
- Grease the Pan: Use butter, oil, or parchment paper to prevent sticking.
Efficiency is key to maintaining the method’s simplicity.
Ingredient Substitutions and Variations
Catering to dietary needs is simple with the dump method. Here are some common substitutions:
- Flour: Use gluten free blends for celiac friendly cakes.
- Sugar: Swap with honey, maple syrup, or artificial sweeteners.
- Eggs: Replace with flaxseed meal, chia seeds, or commercial egg replacers.
- Butter: Opt for plant based margarine or coconut oil.
These alternatives ensure inclusivity without compromising on flavor or texture.
The Role of Baking Powder and Baking Soda
Baking powder and soda are essential for achieving a light and fluffy cake. Here’s why:
- Baking Powder: Contains both an acid and a base, activating when wet and heated.
- Baking Soda: Requires an acidic ingredient (like buttermilk) to activate.
Using the right leavening agent is critical to avoid dense or flat cakes. Measure accurately to maintain the balance.
Common Mistakes in Ingredient Selection
Avoid these common pitfalls to ensure success:
- Using Expired Leavening Agents: Old baking powder or soda won’t provide the necessary lift.
- Incorrect Measurements: Too much liquid can lead to soggy cakes; too little creates dryness.
- Subpar Ingredients: Fresh, high quality components significantly impact flavor and texture.
Attention to detail in ingredient selection sets the stage for a perfect cake.
Ingredient Ratios for Dump Cakes
The balance between wet and dry ingredients is crucial in the dump method. A basic guideline:
- Dry Ingredients (Flour, Sugar, Leaveners): Should make up about 60-70% of the batter.
- Wet Ingredients (Eggs, Milk, Butter): Should constitute the remaining 30-40%.
Maintaining these ratios ensures the batter is neither too thick nor too runny, resulting in consistent outcomes.
Environmental Considerations
Sustainability can easily be integrated into your baking routine:
- Reduce Waste: Measure accurately to avoid leftovers.
- Choose Sustainable Ingredients: Opt for organic, fair-trade products.
- Reusable Tools: Use silicone mats and metal pans instead of disposables.
By adopting eco-friendly practices, you can bake responsibly while enjoying the dump method.
Step-by-Step Guide to the Dump Method
Preparing the Baking Pan
The first step in the dump method is ensuring your baking pan is ready for action. Proper preparation prevents sticking and promotes even baking.
- Grease the Pan: Use butter, shortening, or a non-stick spray. Ensure even coverage on the bottom and sides.
- Add a Liner (Optional): For extra protection, line the pan with parchment paper, especially for delicate cakes.
- Preheat the Oven: Always preheat your oven to the specified temperature, typically between 325°F and 375°F, depending on the recipe.
Taking the time to prepare your pan ensures a flawless release and maintains the integrity of your cake.
Layering the Ingredients

The defining feature of the dump method is how ingredients are added. Follow these steps for optimal results:
- Dry Ingredients First: Flour, sugar, baking powder, and spices should go into the bowl first.
- Wet Ingredients Next: Add liquids like eggs, milk, oil, and vanilla extract on top of the dry mix.
- Layering Variations: If using add-ins like nuts or fruits, sprinkle them evenly before mixing.
This sequence minimizes overmixing, which can lead to a dense cake.
Mixing Techniques
Achieving the right consistency without overmixing is crucial. Here’s how:
- Gently Stir: Use a spatula or whisk to combine ingredients. Focus on folding rather than aggressive stirring.
- Check for Lumps: Ensure the batter is smooth but avoid overworking it.
- Tip for Add-Ins: Fold extras like chocolate chips or fruits gently to distribute evenly.
Proper mixing ensures your cake is light, fluffy, and evenly textured.
Tips for Evenly Distributed Ingredients
Prevent common issues like lumps or uneven texture by:
- Sifting Dry Ingredients: While not mandatory, sifting flour and baking powder can help prevent clumps.
- Room Temperature Ingredients: Ensure eggs, milk, and butter are at room temperature for easier incorporation.
- Gradual Mixing: Mix in stages if necessary to achieve a uniform batter.
These tips ensure your cake has a smooth, professional-quality finish.
Baking the Cake
Once the batter is ready, it’s time to bake:
- Pour Batter into Pan: Ensure the batter is evenly spread for uniform baking.
- Place in Preheated Oven: Set the pan in the center of the oven to avoid uneven heat distribution.
- Monitor Time and Temperature: Stick to the recipe’s guidelines, typically 25-40 minutes.
- Check Doneness: Insert a toothpick into the center. If it comes out clean or with minimal crumbs, your cake is ready.
Consistent monitoring helps avoid overbaking, which can lead to dryness.
Cooling and Unmolding
Cooling your cake properly is just as important as baking it. Follow these steps:
- Let it Cool in the Pan: Allow the cake to rest for 10-15 minutes before attempting to unmold.
- Use a Cooling Rack: Transfer the cake to a wire rack to cool completely. This prevents condensation from making the bottom soggy.
- Handle with Care: Run a knife along the edges before inverting the pan to release the cake.
Proper cooling prevents cracks and ensures a clean, smooth finish.
Decorating Dump Cakes

The simplicity of the dump method extends to decorating. Here are some easy options:
- Frosting: Use buttercream or cream cheese frosting for a classic touch.
- Glazing: Drizzle with chocolate, caramel, or fruit glaze for added sweetness.
- Dusting: Sprinkle powdered sugar or cocoa powder for a minimalist look.
- Toppings: Add fresh fruits, nuts, or edible flowers for a decorative finish.
These options let you enhance your cake without detracting from its simplicity.
Common Pitfalls and How to Avoid Them
Even with the dump method, mistakes can happen. Here’s how to troubleshoot:
- Flat Cake: Ensure your baking powder or soda is fresh and correctly measured.
- Soggy Bottoms: Avoid excess liquid and line your pan if necessary.
- Overbaking: Use an oven thermometer to verify accurate temperatures.
Awareness of these pitfalls ensures consistent results every time.
Storage Tips
To keep your cake fresh for longer:
- Room Temperature: Store unfrosted cakes in an airtight container for up to 3 days.
- Refrigeration: For frosted cakes, refrigerate in a sealed container for up to 5 days.
- Freezing: Wrap the cake in plastic wrap and foil before freezing. Thaw at room temperature when ready to serve.
Proper storage retains the cake’s moisture and flavor.
Scaling the Recipe
Adjusting the dump method for different serving sizes is straightforward:
- Double the Recipe: Multiply all ingredients by two for larger batches. Use a larger mixing bowl and pan.
- Halve the Recipe: Divide ingredients by half for smaller portions. Reduce baking time slightly to prevent overcooking.
- Convert for Cupcakes: Pour batter into lined cupcake trays, reducing baking time to 15-20 minutes.
This flexibility makes the dump method adaptable for any occasion.
More FAQs
- Can I use the dump method for cupcakes? Yes, simply adjust the baking time to 15-20 minutes.
- Do I need a mixer for the dump method? No, a spatula or whisk works perfectly fine.
- What’s the best pan for a dump cake? A 9×13-inch pan is ideal for most recipes, but round or square pans also work.
- Can I substitute butter with oil? Yes, oil often results in a moister cake.
- Why is my cake dense? Overmixing or using old leavening agents may be the cause.
- How do I prevent lumps in my batter? Sift dry ingredients and mix gently to avoid clumping.
- What does pumpkin cake taste like? Pumpkin cake tastes moist and flavorful, combining the sweetness of pumpkin with warm spices like cinnamon, nutmeg, and cloves for a cozy, autumn-inspired treat.
- What is the recipe of the pumpkin dump cake? The recipe for pumpkin dump cake involves layering canned pumpkin, evaporated milk, sugar, spices, and a cake mix in a baking dish, then baking until golden and set.
- What is the biggest mistake to avoid when making a dump cake? The biggest mistake to avoid when making a dump cake is overmixing the batter, as it can result in a dense and unevenly baked cake.
- Does dump cake have to be refrigerated after baking? Yes, dump cake should be refrigerated after baking if it contains perishable ingredients like dairy or fresh fruit to ensure food safety and freshness.

